Git with VSCode

Step 1: Install Git
- Go to the Git website. (https://git-scm.com).
- Click on 'Download' and choose the version that matches your operating system (Windows, macOS, or Linux).
- Follow the instructions to download the installer.
- Run the downloaded installer.
- Follow the setup instructions. You can use the default settings for most options unless you have specific requirements.
- Open your terminal ( in your VSCode ) or command prompt.
- Type 'git --version' or ( 'git -v' ) and press Enter.
- You should see the installed Git version, confirming that Git is installed successfully.
Step 2: Install Visual Studio Code
- Go to the VS Code website. (https://code.visualstudio.com).
- Click on 'Download' and choose the version that matches your operating system.
- Run the downloaded installer.
- Follow the setup instructions.
Step 3: Configure Git in VS Code
- Open Visual Studio Code.
- Go to the top menu and click on 'Terminal' > 'New Terminal'.
- Set your Git username by typing: git config --global user.name 'Your Name' and press Enter.
- Set your Git email by typing: git config --global user.email 'you@example.com' and press Enter.
Step 4: Initialize a Git Repository
- Open the folder containing your project files in VS Code by clicking on 'File' > 'Open Folder' and selecting your project folder.
- Open the terminal in VS Code (Terminal > New Terminal).
- Navigate to your project folder if not already there. (type: cd projectFolderName)
- Type 'git init' and press Enter to initialize a new Git repository.
Step 5: Make Changes and Commit
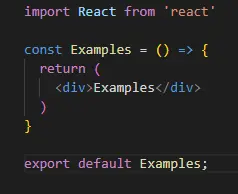
- Create or edit files in your project folder using the VS Code editor.
- Open the terminal in VS Code.
- Type git commit -m 'Your commit message' and press Enter to commit the changes with a descriptive message.
Step 6: Push to a Remote Repository
- Go to 'GitHub', 'GitLab', or 'Bitbucket' and create a new repository.
- In the terminal, type git remote add origin https://github.com/your-username/your-repository.git (replace the URL with your repository's URL) and press Enter.
- Type git push -u origin master and press Enter to push your local changes to the remote repository.
Step 7: Pull Changes from Remote Repository
- In the terminal, type git pull origin master and press Enter to pull the latest changes from the remote repository to your local repository.
Step 8: Viewing Git Changes in VS Code
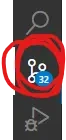
- Click on the Source Control icon in the Activity Bar on the side of the VS Code window (or press Ctrl+Shift+G).
- In the Source Control view, you can see the list of changes, staged changes, and commit history.
Common Git Commands Cheat Sheet
- 'git status' - Show the working directory status.
- 'git add .' - Add all changes to staging.
- 'git commit -m 'message'' - Commit changes with a message. ( without message it WILL NOT commit ).
- 'git push' - Push changes to remote repository.
- 'git pull' - Pull changes from remote repository.
- 'git checkout branch-name' - Switch to a branch.
- 'git merge branch-name' - Merge a branch into the current branch.
Use my example as a guide
- Make changes in your code.
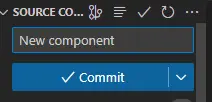
- Press Source Control icon.
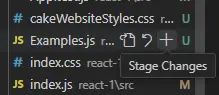
- Press '+' to Stage Changes
- Type message. ( without message it will not commit ).
- Then press Commit button.
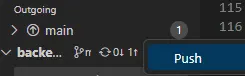
- Press three dots (...) next to main or master.
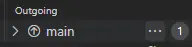
- Press Push.
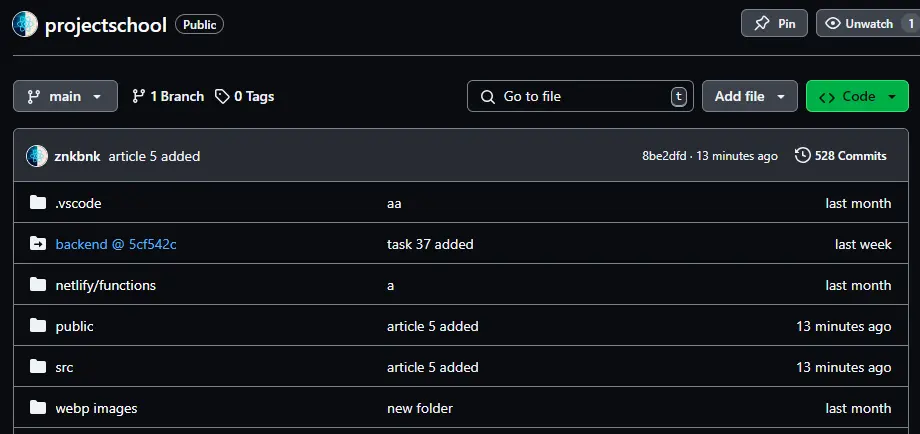
- In your Github account navigate to repository.
- There you will find all the changes you made.